Zippers are probably the scariest thing I can think of. Not for any real reason, but just because. So when I was presented with the opportunity (read challenge) of inserting one into a pouch for a power cable I thought it was time to face my fears. And I must say that it wasn’t bad, though it could have been a disaster without the guidance of the kind souls at Sarah’s. The trick is to add tabs to the end of your zipper before you sew it to anything. That way when you sew your corners you are not trying to work around an unruly zipper.
The instructions below demonstrate how I put a zipper into the pouches I make. Note that you will need to adjust the lengths and widths to fit the item you are working on!
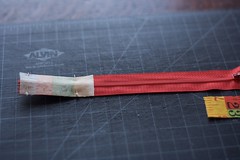
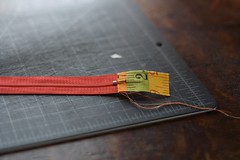
Step 1: Cut two strips of fabric the width of your zipper (usually 1 inch) and about 2 1/2 inches long. Pin the right sides of the fabric to the top sides of the zipper, making sure to line up the edges at the ends.
Step 2: Sew together, using a straight stitch. Don’t be afraid to sew right up to the stoppers on the zipper. *Make sure you use your zipper foot, it allows you to get much closer to the physical zipper.
Step 3: Remove pins and press the fabric back on each end. You should have a nice clean seam starting right behind the metal stops of the zipper.
Step 4: Pin the right side of the exterior fabric to the top side of the zipper. Again making sure that the edges line up. Sew along the entire length with the zipper foot. At the ends you will be sewing two pieces of fabric together rather then zipper to fabric. *This step should be pinned and sewn one side at a time.
Step 5: Remove pins and press each side back from the zipper.
Step 6: Pin the two pieces of exterior fabric together, starting at the bottom and working your way around and up the sides. When you get to the top it may seem that you have extra fabric but just go with it, once you turn the item right side out it will make sense.
Step 7: Tie and trim off all threads. Turn right side out and admire your beautiful corners. If everything was line up right you should see a little triangle of fabric sandwiched between the zipper and your two exterior sides.
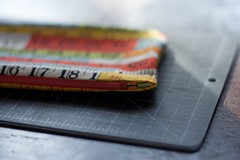
While these are the perfect size to hold a Mac power cable, even with the extender cable, they could be used for anything. A make-up bag, a pencil case, or a small catchall to slip in a larger bag… Hopefully these too will be making an appearance in my Etsy shop soon!


